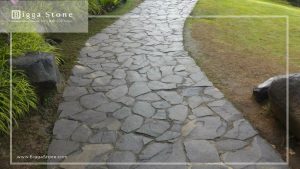
Natural stone is one of the materials widely used as a building material, especially for finishing. Its natural aura and beautiful appearance are some of the reasons natural stone has become so widely used.
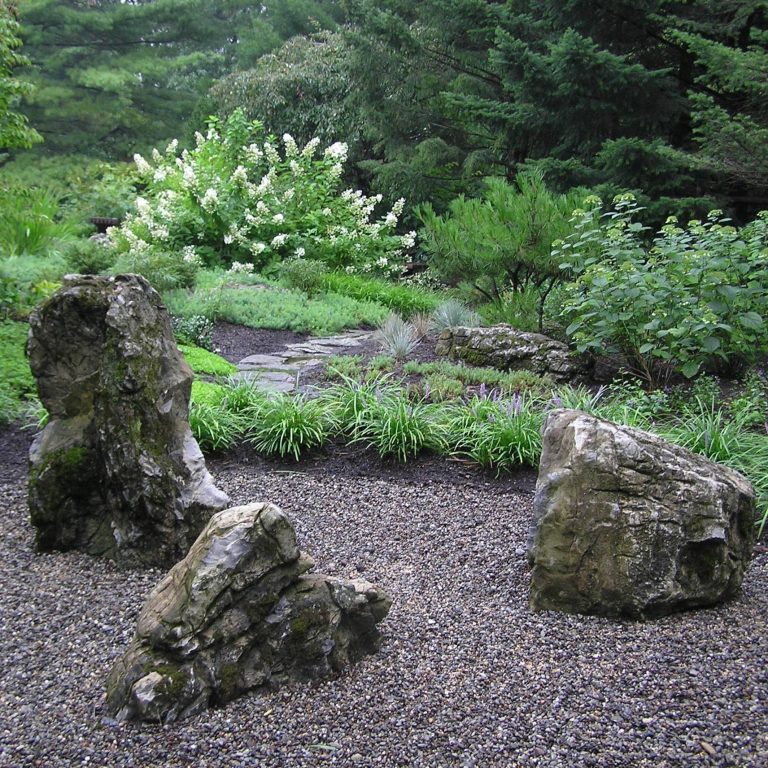
The variety of types and installation methods that can create different patterns and looks makes natural stone seem like a must-have element in home construction, starting from gardens, fences, and even bathrooms.
Not all parts of a house can use natural stone. Rooms that easily get dirty, like in the kitchens or may be in garages, should not use natural stone because it is difficult to clean when exposed to stains like oil or grease.
Why Is Natural Stone Often Used in Buildings?
Natural stone for walls is often chosen because it creates a natural feel while enhancing the building’s aesthetics. However, behind its elegant appearance, installing natural stone requires the right techniques and materials. Small mistakes during application often cause the stones to detach easily, create uneven surfaces, or even crack in the long run.
To ensure the installation of natural stone walls is strong and long-lasting, here is a practical guide you can follow for both residential and commercial projects.
Preparation Before Installing Natural Stone
Here are some preparations and guidelines before and during the installation process to get the best results.
1. Make Sure the Surface Is Clean, Stable, and Even
The first step that is often overlooked is preparing the surface. The substrate must be free from dust, oil, and dirt, and must be evenly flat.
Uneven surfaces will increase mortar consumption and reduce bonding quality.
In short, make sure the installation area is clean, flat, and free from dirt. You can use a cleaner and rinse the area thoroughly.
2. Soak the Stone
Some stones need to be soaked before installation. Stones such as paras, batu candi, and palimanan are highly absorbent. If installed dry, the cement mix might be absorbed into the stone, making the adhesive process less effective. As a result, the bonding becomes weak and the stones may fall off or develop hairline cracks.
If you are using paras, batu candi, or palimanan, it is best to soak them before installation.
3. Decide the Installation Area in Advance
A crucial step before starting the installation is determining the application area and adjusting the stone size.
For wall installation, to maintain aesthetics and safety for interior walls, choose stones with a maximum length of 60 cm.
For exterior walls that require a sturdier impression, you may use slightly larger stones, up to a maximum of 80 cm.
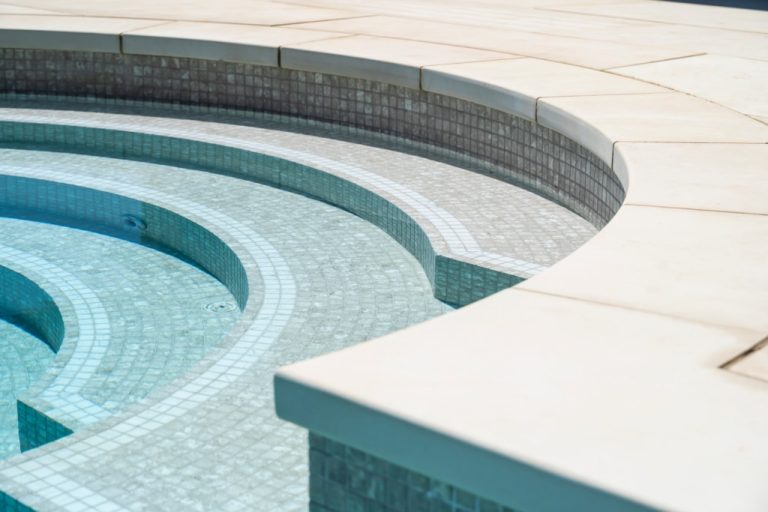
Besides walls, this material is also functional for floors or bathrooms to create a strong natural atmosphere.
This size planning is not only about appearance, but also a key factor in construction technique. The size limits help keep the load proportional to the adhesive strength of the cement or special bonding material used.
By adjusting the stone size to the application area, you ensure optimal bonding, even load distribution, and effectively reduce the risk of stones coming loose or popping due to weather and humidity changes.
Installing on Floors or Walls?
Here is a simple step-by-step guide for installing natural stone on floors or walls.
1. How to Install Natural Stone on Floors
Installing natural stone on exterior floors can be done using a dry method or a wet method, depending on your budget. Here are the practical steps:
- Clean and level the floor area to avoid bumps.
- Install guiding strings horizontally and vertically so the pattern stays aligned.
- Adjust the string height to match the stone thickness.
- Leave a small gap under the stone for the cement mix.
- Soak the stones so the bonding becomes stronger.
- Apply cement mix on the floor before placing the stones.
- Place the stone and tap gently with a rubber mallet to set it correctly.
- Repeat until the entire floor is fully covered.
- Let it dry for 2–3 days until the cement hardens completely.
Important Note: Do not step on the floor during the drying process. For smaller stones, you may choose the dry installation method (without cement) if preferred.
2. How to Install Natural Stone on Walls
Installing natural stone on exterior walls or fences gives the house a more elegant and natural look. Here are the steps:
- Scrape or roughen the wall surface so the cement mix grips better.
- Install a straight guiding string so the stone rows stay aligned.
- Check stone edges and make sure each side is even for precise results.
- Soak the stones before installation to prevent them from coming loose later.
- Apply a thin layer of cement on one side of the stone and a thicker layer on the other side.
- Arrange the installation pattern (e.g., raised–recessed pattern) to create more texture.
- Clean off excess cement from the stone surface before it dries.
- Coat the stone with a sealer to prevent mold or mildew.
Using natural stone on walls is a great choice to create a luxurious yet refreshing look for your home. But remember these steps so the installation is done right. If you want more tips like this, you can just visit BaliStoneTiles.com!
Frequently Asked Questions
1. Do natural stone tiles need special treatment before installation?
Yes. Natural stone tiles often need soaking, surface cleaning, and proper planning before installation to ensure strong bonding.
2. Why should some stones be soaked first?
Because some types like paras, batu candi, and palimanan absorb water easily. Soaking helps prevent the cement from being absorbed, making the stone stick better.
3. Can natural stone be used in all rooms?
No. Avoid using it in dirty or oily areas like kitchens and garages because natural stone is difficult to clean.
4. What size of stone is recommended for walls?
For interior walls, use stones up to 60 cm. For exterior walls, stones up to 80 cm are acceptable.
5. Do floors and walls have different installation methods?
Yes. Floors can use dry or wet installation, while walls require roughening the surface and a stronger bonding process.